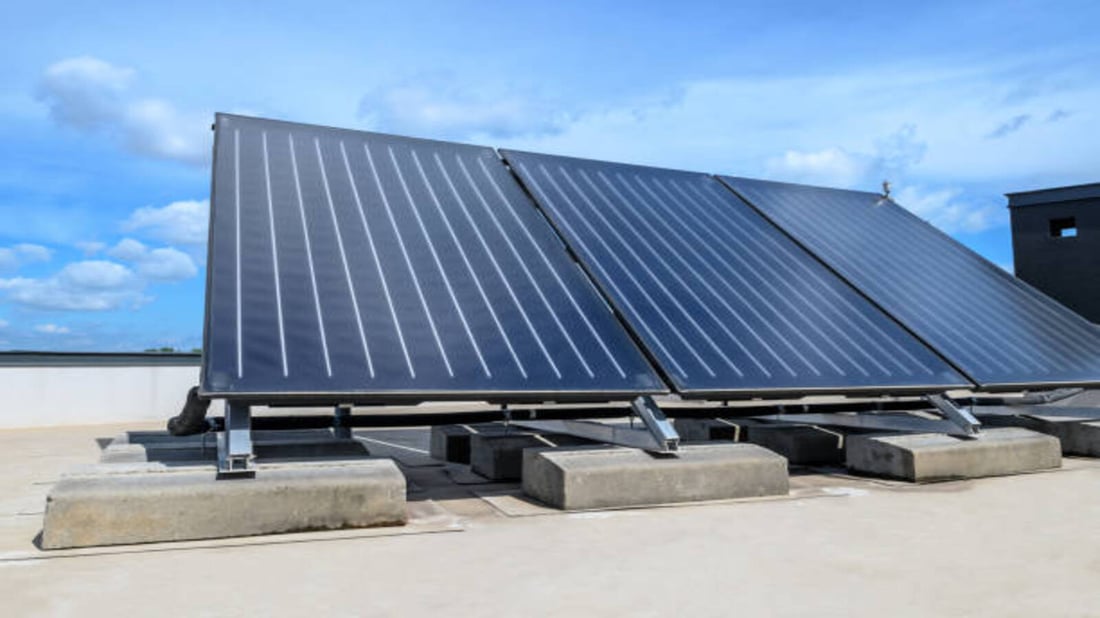
Introduction to Flat Roof Solar Mounting Brackets
If you are looking for a way to harness the power of the sun to power your home or business, solar panels are an excellent investment. Flat roof solar mounting brackets are the perfect solution to hold your solar panels firmly in place. In this article, we will take you through the process of installing flat roof solar mounting brackets.
Step-by-Step Guide to Installing Flat Roof Solar Mounting Brackets
Step 1: Determine the Layout
Before installing mounting brackets, the first step is to determine the layout of the panels on the roof. The layout will depend on several factors such as the direction the panels are facing, the size of the solar panels, and any obstructions such as vents or chimneys.
Step 2: Measure and Mark the Spacing
Once you have decided on the layout, measure and mark the spacing for your mounting brackets. Use a tape measure and mark off where each bracket will be placed on the roof. Ensure that the brackets are spaced evenly to distribute the weight of the panels evenly.
Step 3: Attach the Mounting Brackets
With the location of the brackets marked, attach them to the roof using screws. Use a cordless drill to screw in the mounting brackets firmly but not too tightly as this can cause the brackets to bend. Use a level to ensure that the brackets are straight.
Step 4: Install Flashing
Install flashing around each bracket to ensure that water does not leak through the screws. Use a strong adhesive such as polyurethane to glue the flashing to the roof.
Step 5: Install Rails
After installing the brackets, attach the rails to the brackets. Rails provide the framework for holding the solar panels. Use bolts to securely fasten the rails to the brackets.
Step 6: Add Mid and End Clamps
Once the rails are in place, the next step is to install mid and end clamps. These clamps secure the solar panels to the rails. Slide the clamps onto the rails and tighten them securely.
Step 7: Install Solar Panels
After the brackets, rails, and clamps are in place, it's time to install the solar panels. Lift the panels onto the rails and secure them in place with the end clamps. Ensure that each panel is level.
Step 8: Install Cable Clips
With the panels securely installed, the next step is to install cable clips. These clips hold the cables securely in place and prevent them from becoming tangled or damaged. Attach the cable clips to the rails and route the cables through the clips.
Step 9: Connect Wiring
Now that the cables are in place, connect the wiring from the solar panels to the inverter. Ensure that the wiring is correctly connected and that all connections are secured.
Step 10: Test the System
After completing the installation, it's time to test the system. Turn on your solar inverter and check to ensure that power is being produced. If your system is not producing power, check the wiring connections and check that all components are functioning correctly.
Conclusion
Congratulations, you have now successfully installed your flat roof solar mounting brackets. With the right equipment and a bit of effort, you can harness the power of the sun to power your home or business. Remember to regularly check your system to ensure that it's functioning correctly.
Quote Inquiry
Contact us!

